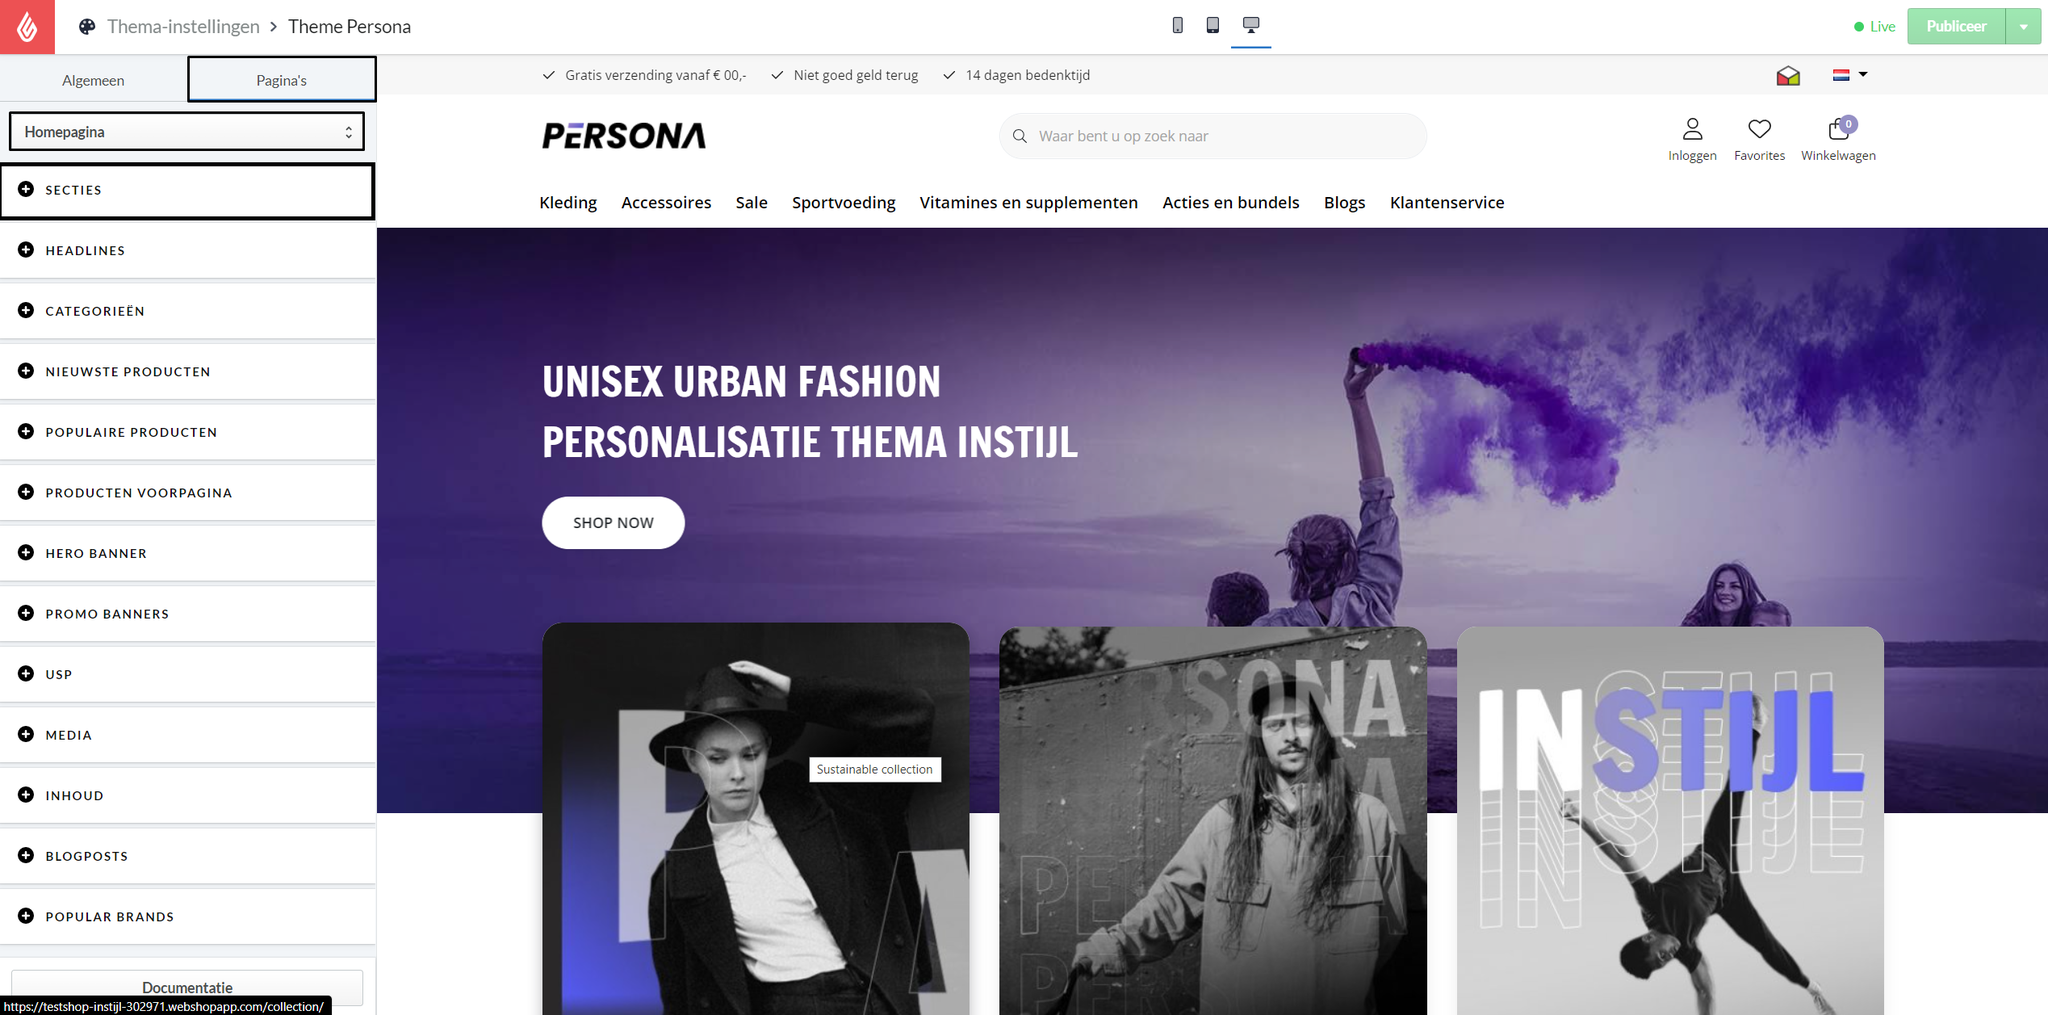
Homepage
Sections
Section overlay
Here you can choose whether the first section will contain information about the headlines.
In case this option is turned off, it will simply appear as the next row below the headlines.
Section
Sections 1 through 8 represent the sections on your homepage. You can sort them here and change your homepage in just seconds.
- None
- Categories
- Products
- USP blocks
- Banner
- Help
- Spotlight
- Quote
- Reviews
- Blog posts
- Brands

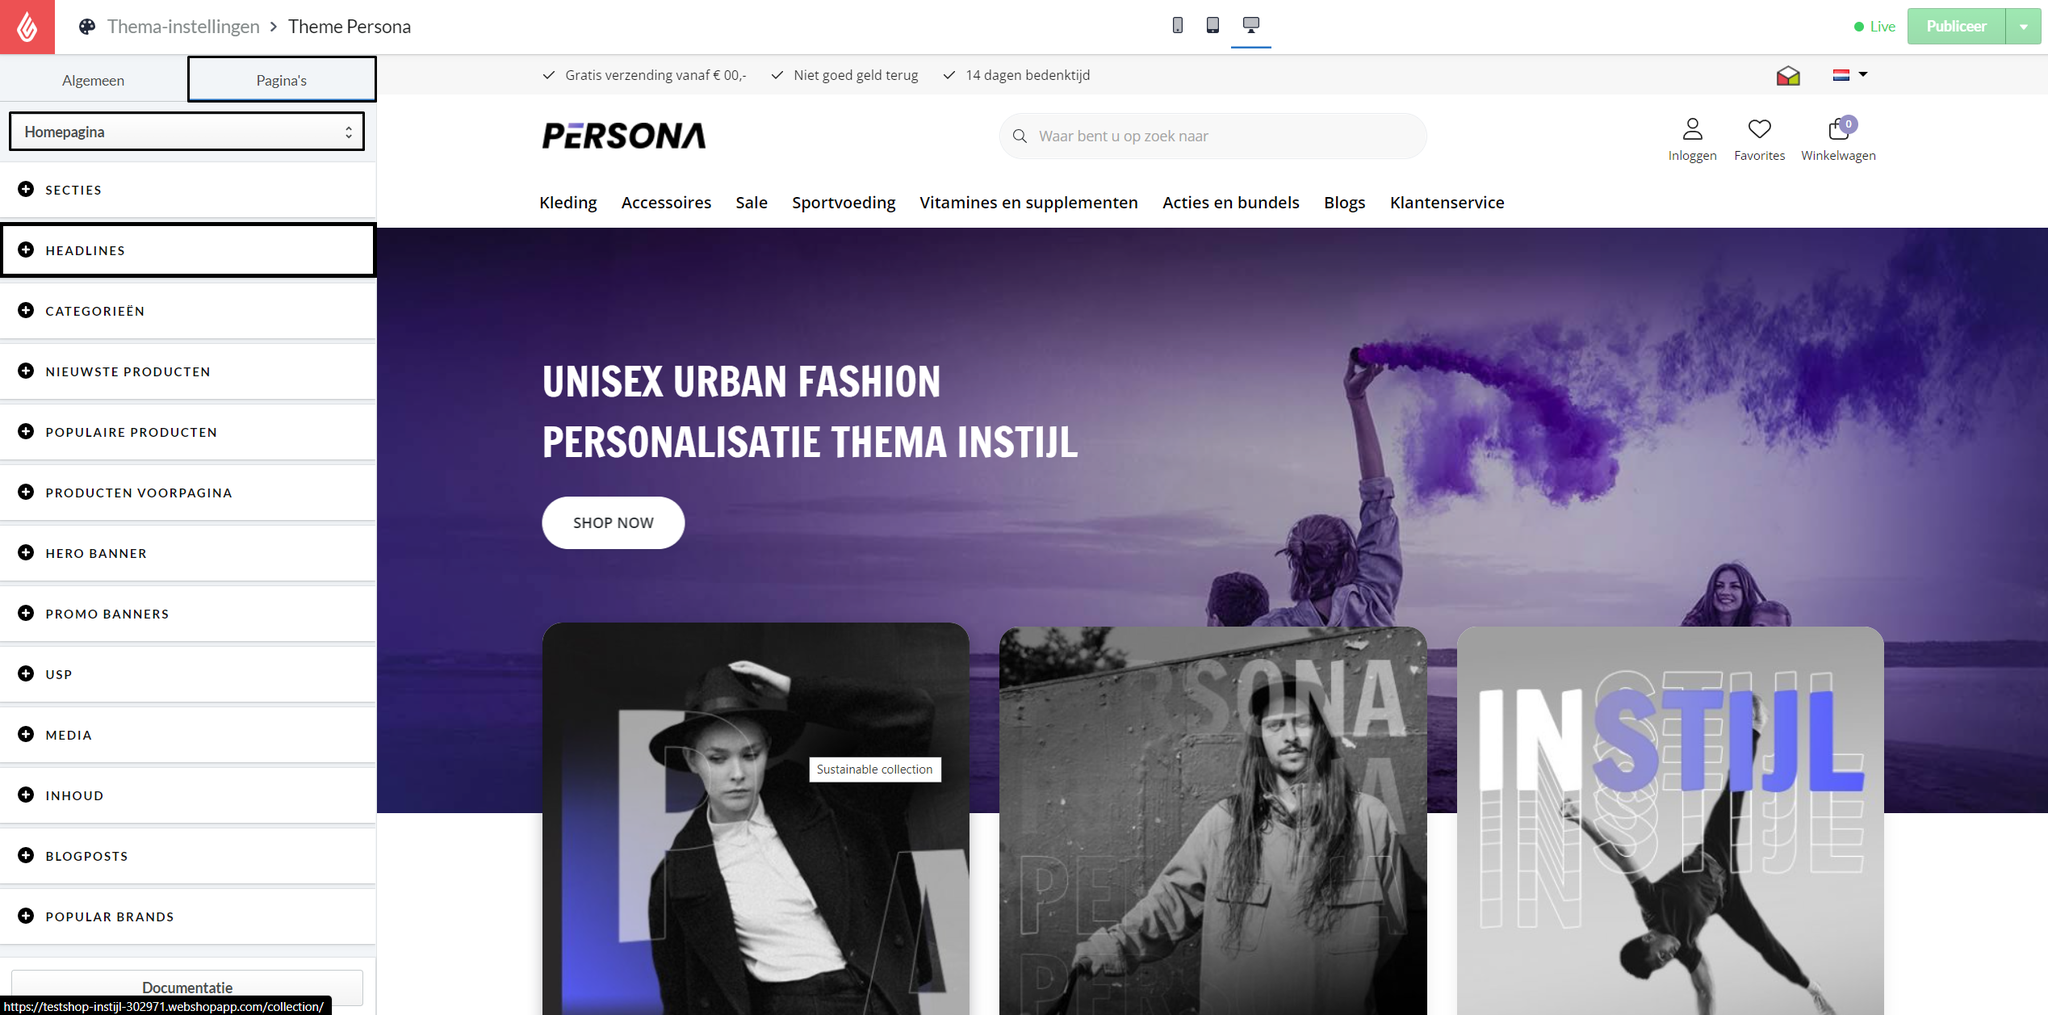
Headlines
Type of Headlines
Select here which type of headlines you would like to use.
Headlines 1 to 3 represent the large images located at the top of the pages below the header. You can sort them here by uploading them in the correct order and change your homepage in just seconds.
Parallax
With this option you can only use one header image and create a parallax scroll effect. You can only enter headline 1 with this option.
Slider
With this option you get a slide effect, which allows you to upload multiple slides. You can enter headline 1, 2 and 3 with this option.
Headlines image for mobile
To optimize the mobile version of your web shop, we have implemented an option to place a separate image for the mobile version. You can upload the image here with a 480 x 386 pixels resolution. The image will only be shown on mobile.
Headlines slider height
Here you can set the height of the large image at the top. This must be a numeric number based on the number of pixels.
Headlines button style
Choose a style for the headline button.
- Default
- Primary
- Secondary
- Dark
- Light
- White
Headline
Activate headline
Allows you to display an image via a large headline image within your store.
Headline image
Here you can upload the images for the headlines. We recommend a resolution of a minimum of 1920 pixels wide by 580 pixels height for a high-resolution headline.
Headline title
You can choose to display a title above the header image. If you use multiple languages in your store, you can translate the text via Content > Translations > Custom translations.
Headline description
Enter the description you would like to show below the title.
Headline button text
Enter the text you would like to appear in the button that appears below the banner.
Headline button URL
Enter the URL that links with the button.
Headline content position
Choose the position of the title, description, and button within the headline.
- Center: Aligns and centers all content.
- Left: Aligns all content to the left.
- Right: Aligns all content to the right.
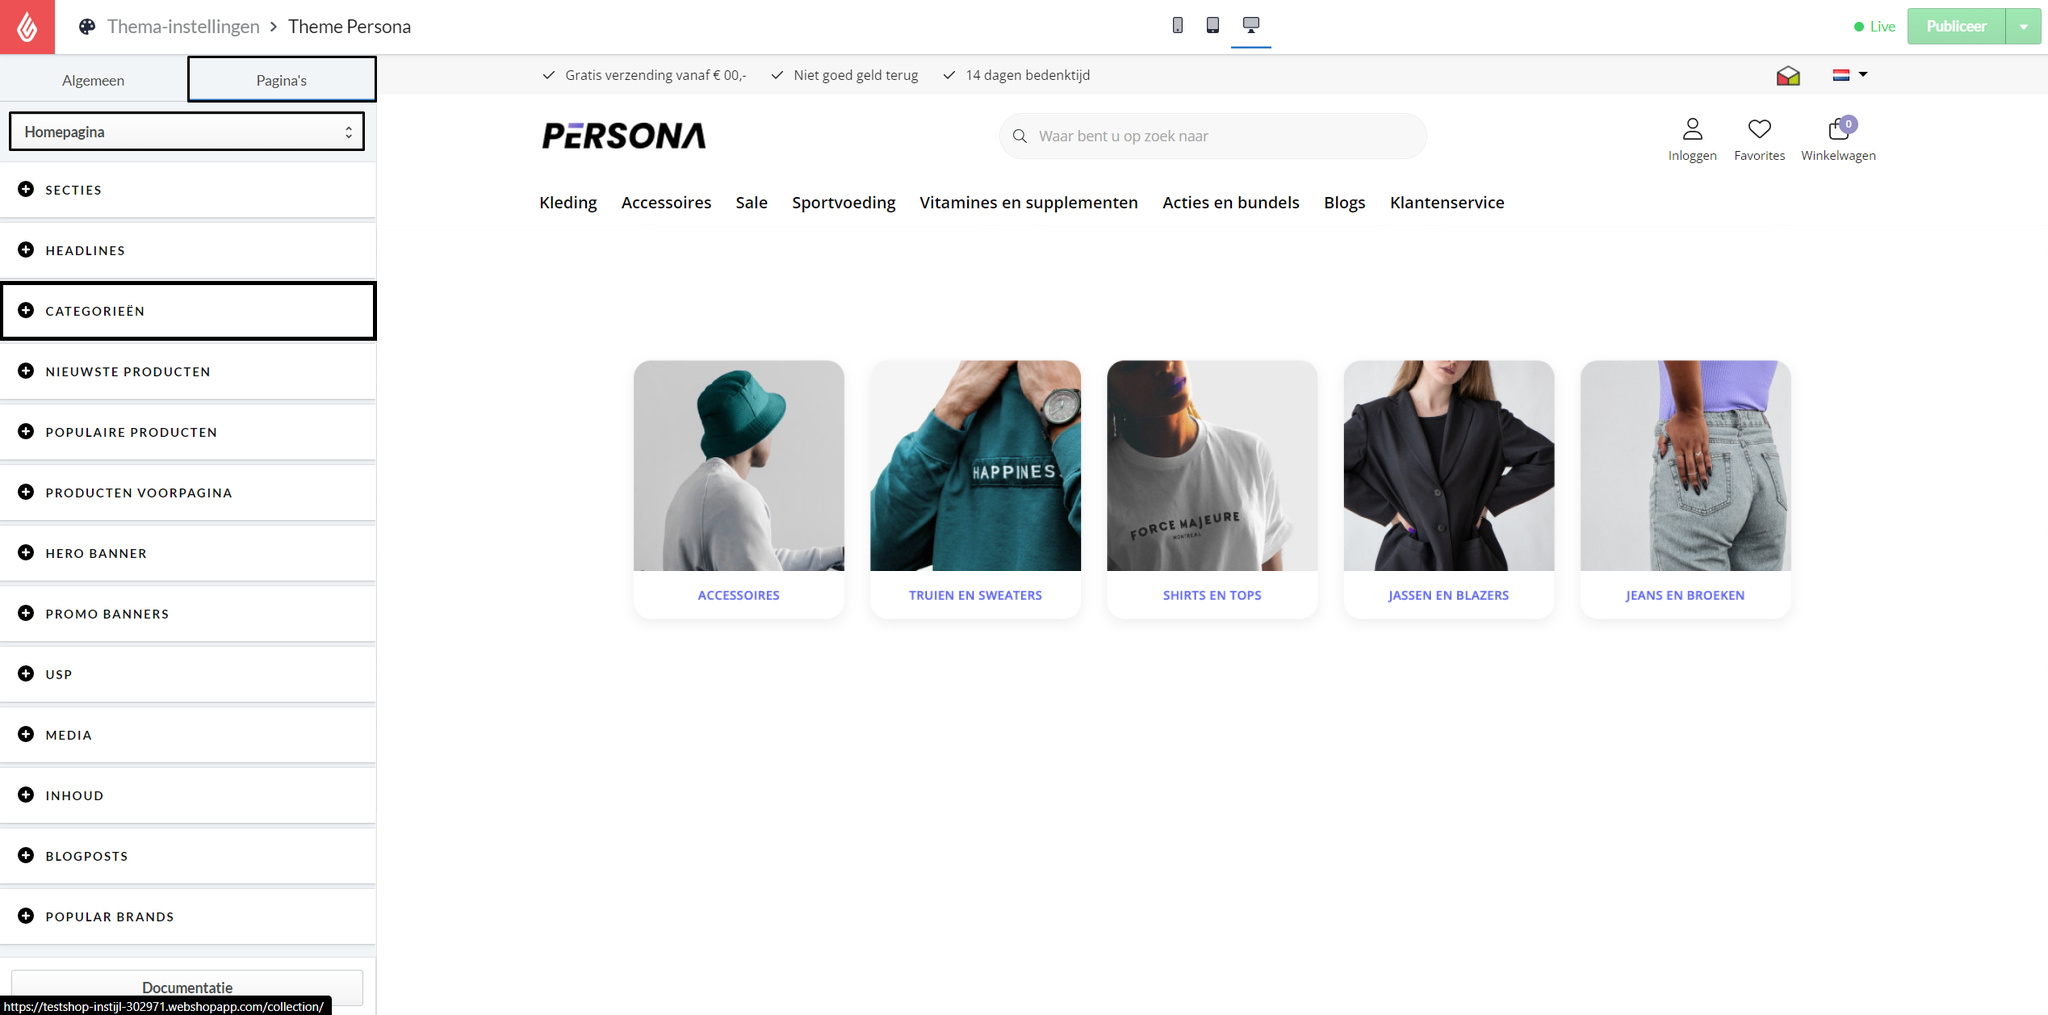
Categories
Category view
3
Select this option to show 3 categories of 423x423 pixels side by side.
4
Select this option to display 4 categories of 310x310 pixels side by side.
5
Select this option to display 5 categories of 242x242 pixels side by side.
Content position
Choose the position of the title, description, and button within the categories.
Center
This will show the categories across the board with the content at the top.
Left
This will show the categories on the right and the content on the left.
Right
this will show the categories on the left and the content on the right.
Title
You can choose to display a title above the header image. If you use multiple languages in your store, you can translate the text via Content > Translations > Custom translations.
Description
Enter the the description you would like to show below the title.
Products
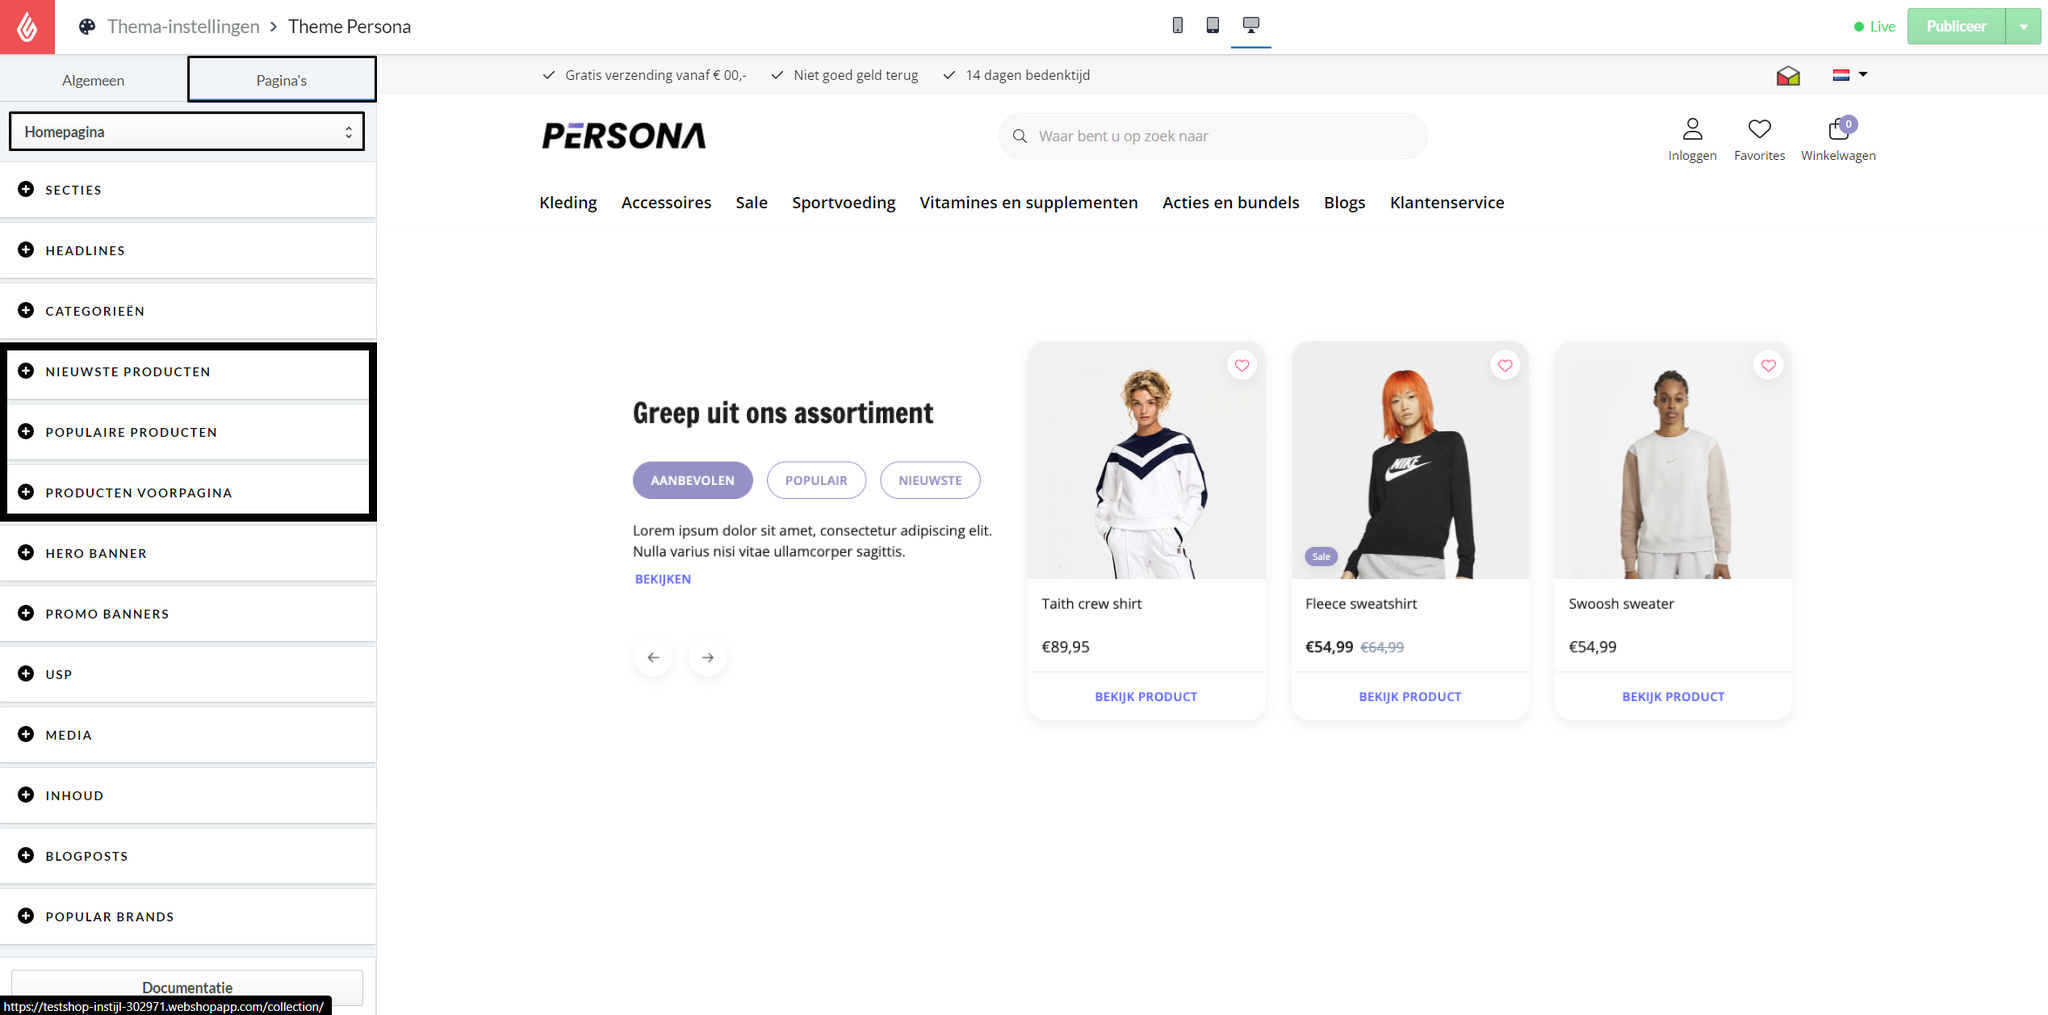
The following section applies to these buttons:
- New products
- Popular products
- Front page products
Content position
Choose the position of the title, description, and buttons within the products sections.
Center
This shows the products across the entire width with the content placed above.
Left
This shows the products on the right side and the content on the left.
Right
This shows the products on the left side and the content on the right.
Title
You can choose to display a title by typing it here. If you have multiple languages in your store, you can translate this text via Content > Translations > Custom translations.
Description
Enter the description you would like to show below the title.
Knop URL
Enter the URL here where you will go when you click the button.
Enable product carousel
Enable this option if you would like to show your products in a carousel.
When this is turned off, the products are shown below each other.
Section products Tabs
Enable this option if you would like to show 3 tabs at the current section. The tabs are featured products, new products, and popular products.
If you decide to disable this option, only products of the current section will be visible.
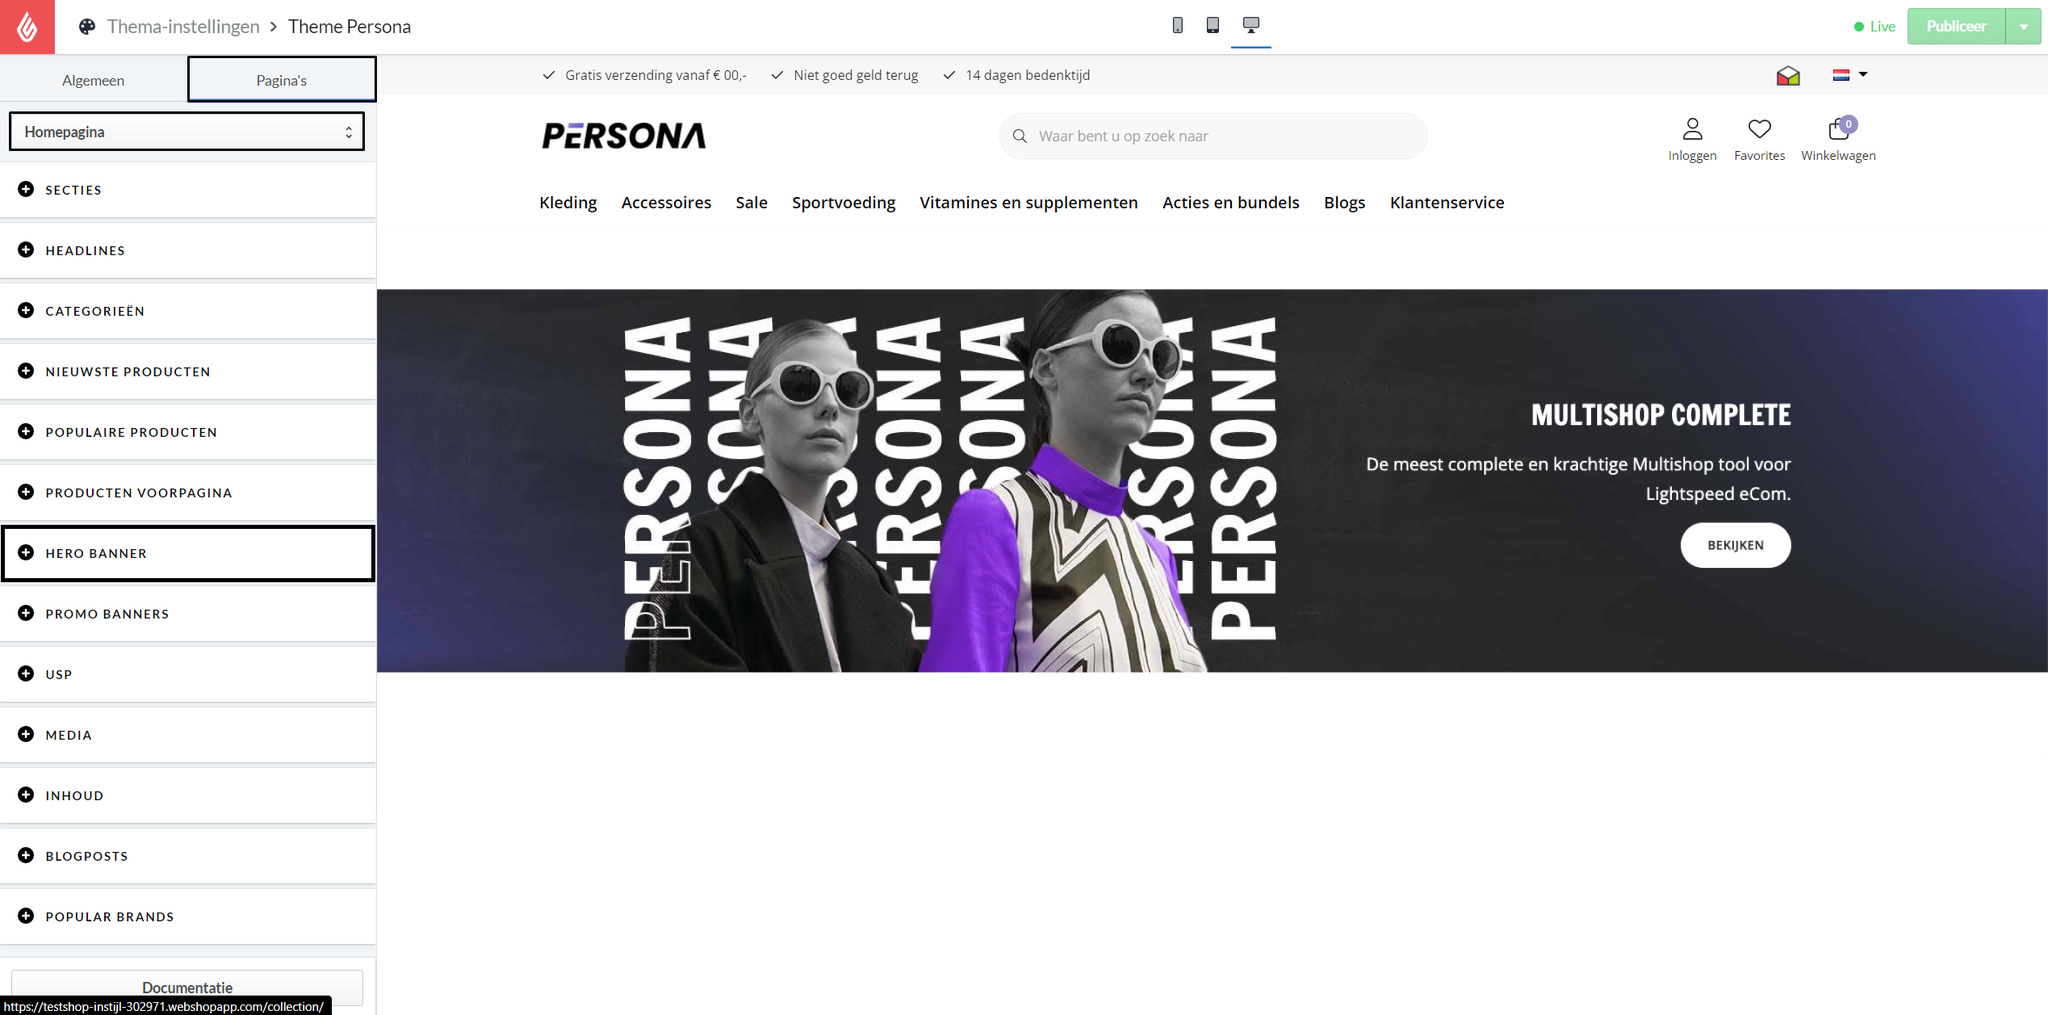
Hero banner
Enable hero banner
The hero banner is the full-width banner at the bottom of your eCom store.
Content position
Choose the position of the title, description, and button within the banner.
Center
This will show the banner across the entire width with the content placed above.
Left
This will show the banner on the right side and the content on the left.
Right
This will show the banner on the left side and the content on the right.
Title
You can choose to display a title by typing it here. If you have multiple languages in your store, you can translate this text via Content > Translations > Custom translations.
Description
Enter the description you would like to show below the title.
Knoptekst
Enter the text you would like to show in the button that appears below the banner.
Knop URL
Enter the URL here which will be linked to the button.
Hero banner image
Here you can upload the images for the headlines. We recommend a resolution of a minimum of 1920 pixels wide by 440 pixels height for a high-resolution headline.
Promo banners
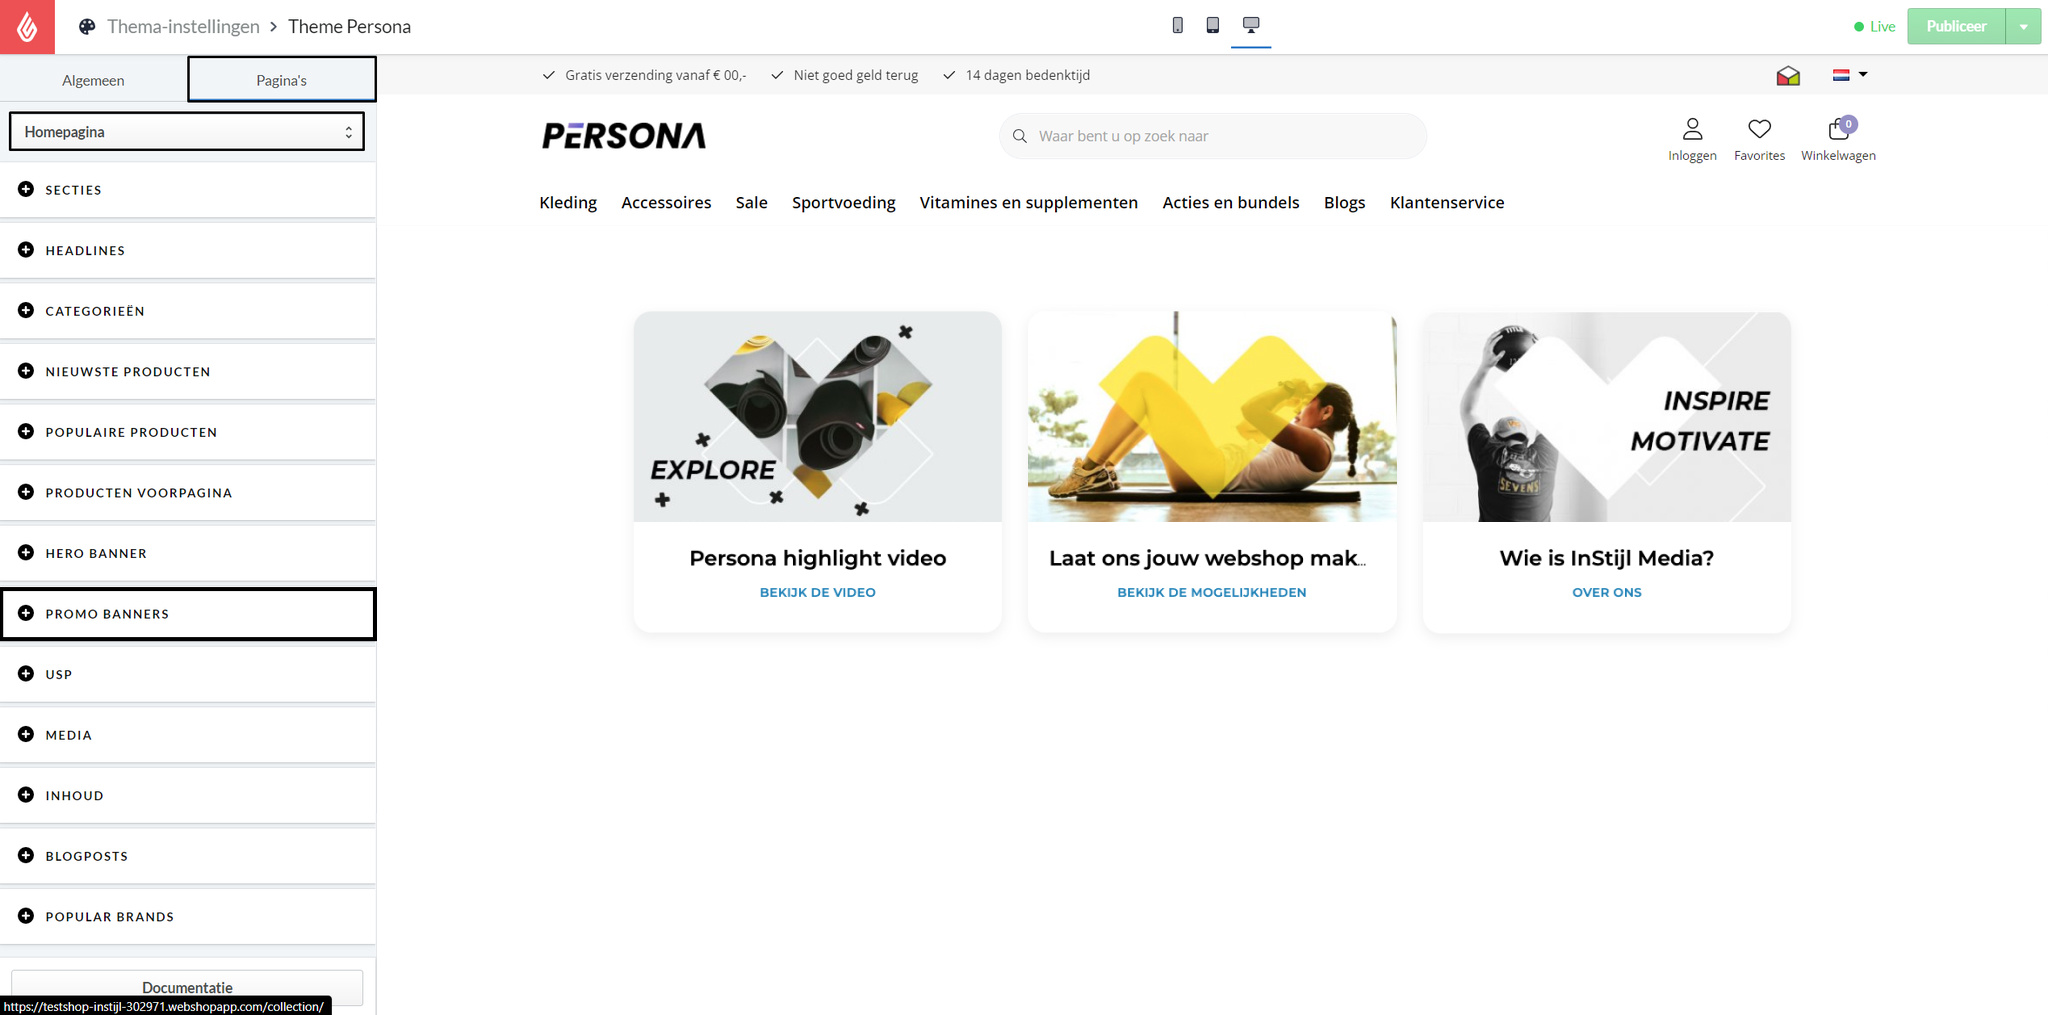
This applies to:
- Promo banner 1
- Promo banner 2
- Promo banner 3
Promo banner image
Here you can upload the images for the headlines. We recommend a minimum resolution of 1920 pixels wide by 440 pixels height for a high-resolution headline.
Title
You can choose to display a title by typing it here. If you have multiple languages in your store, you can translate this text via Content > Translations > Custom translations.
Button text
Enter the text you would like to show in the button that appears below this banner.
Button URL
Enter the URL here which will be linked to the button.
USP
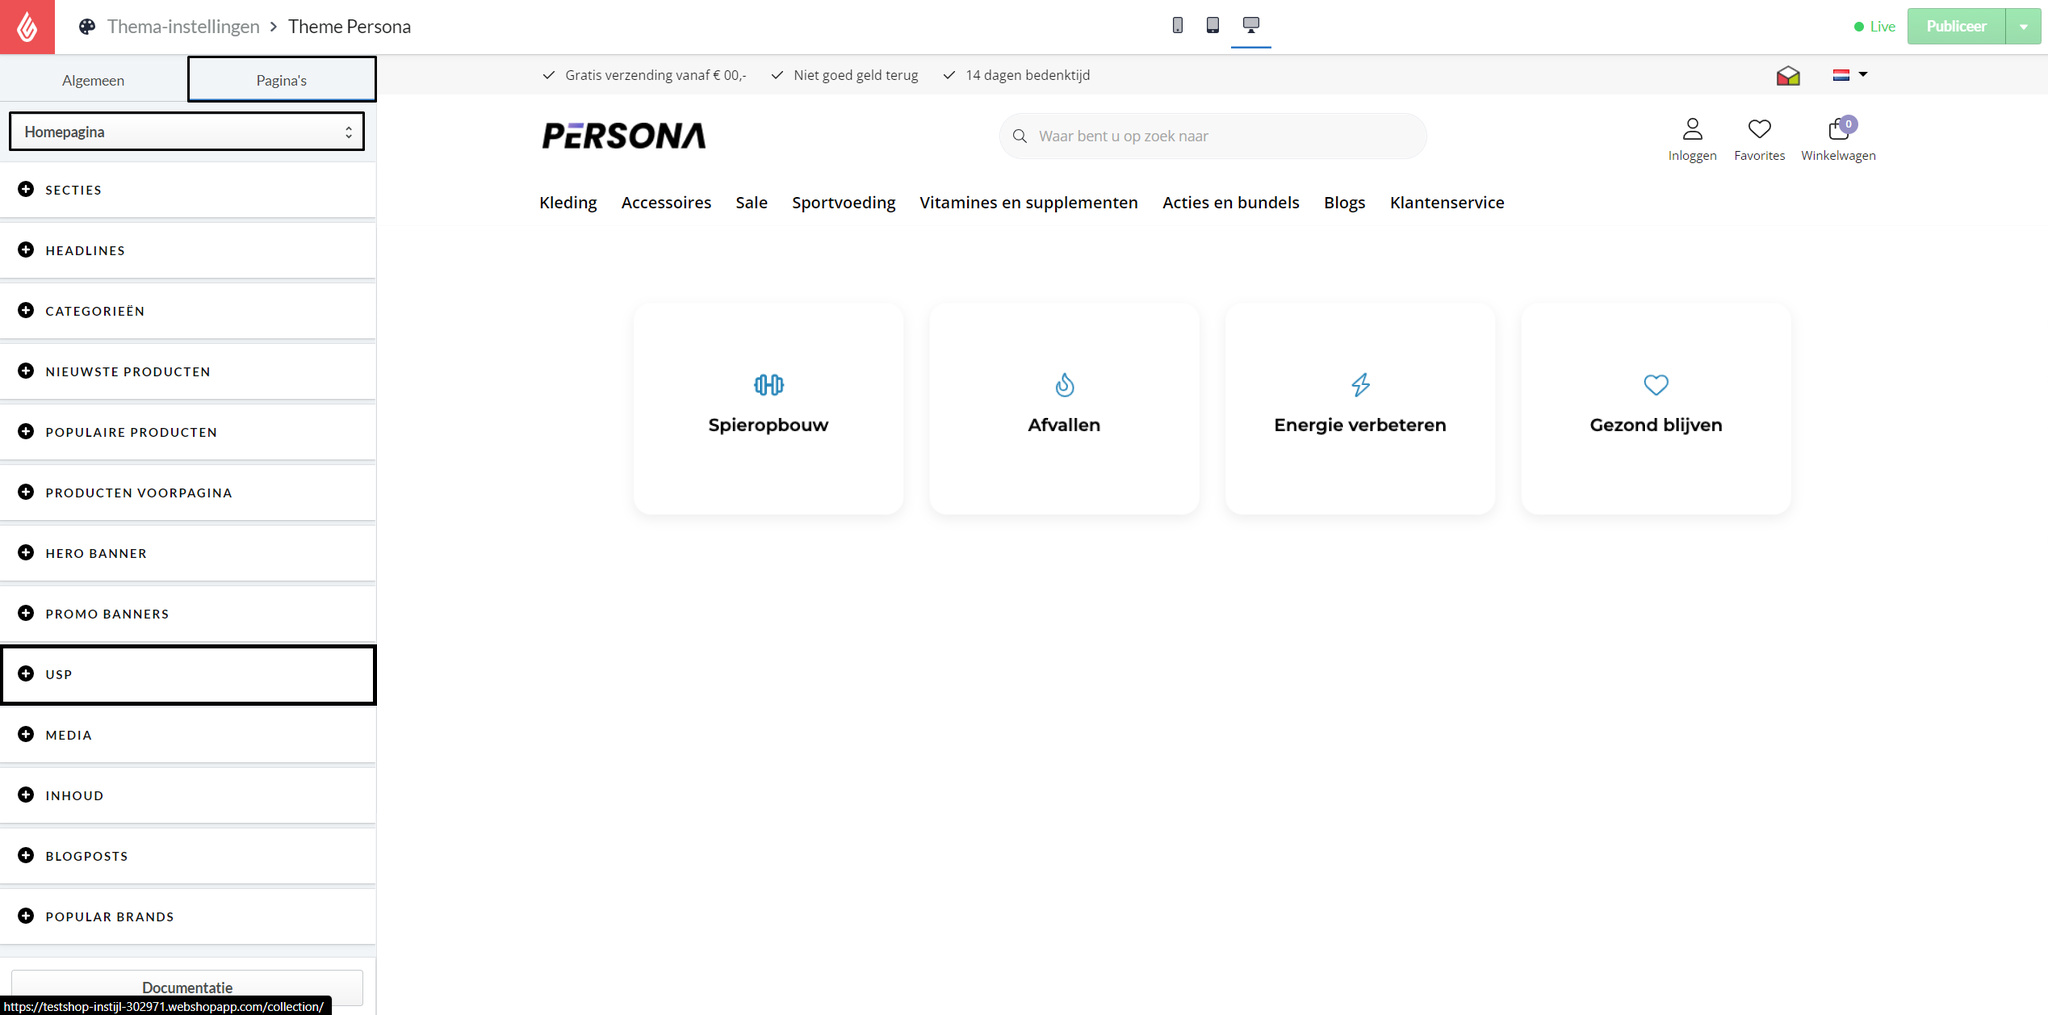
Usp icon
Here you can paste the code of the icon.
The code for the icons can be found here: https://fontawesome.com/v5.15/icons
When you have selected an icon, click on the icon.
Then click on the code icon, as shown in the image below.
Now go to your theme settings, click on it and press ctrl + V.
The icon’s code is now pasted in the text box.
Usp text
Enter the text of the usp here.
Media
Enter a link here for a Youtube video, image, everything else accessible by link.
Content position
Choose the position of the title, description, and button.
Center
Shows the media across the entire width with the content on top.
Left
This will show the media on the right side and the content on the left.
Right
This shows the media on the left side and the content on the right.
Media source
Here you can place a link of a media product. Think, for example, of a YouTube link or a link of a file that you have uploaded at Dashboard > Tools > Files.
Title
You can choose to display a title by typing it here. If you have multiple languages in your store, you can translate this text via Content > Translations > Custom translations.
Description
Enter your description for the media section here.
Media URL
Enter your media section URL here to view more related content. For example, a link to a text page or a blog post.
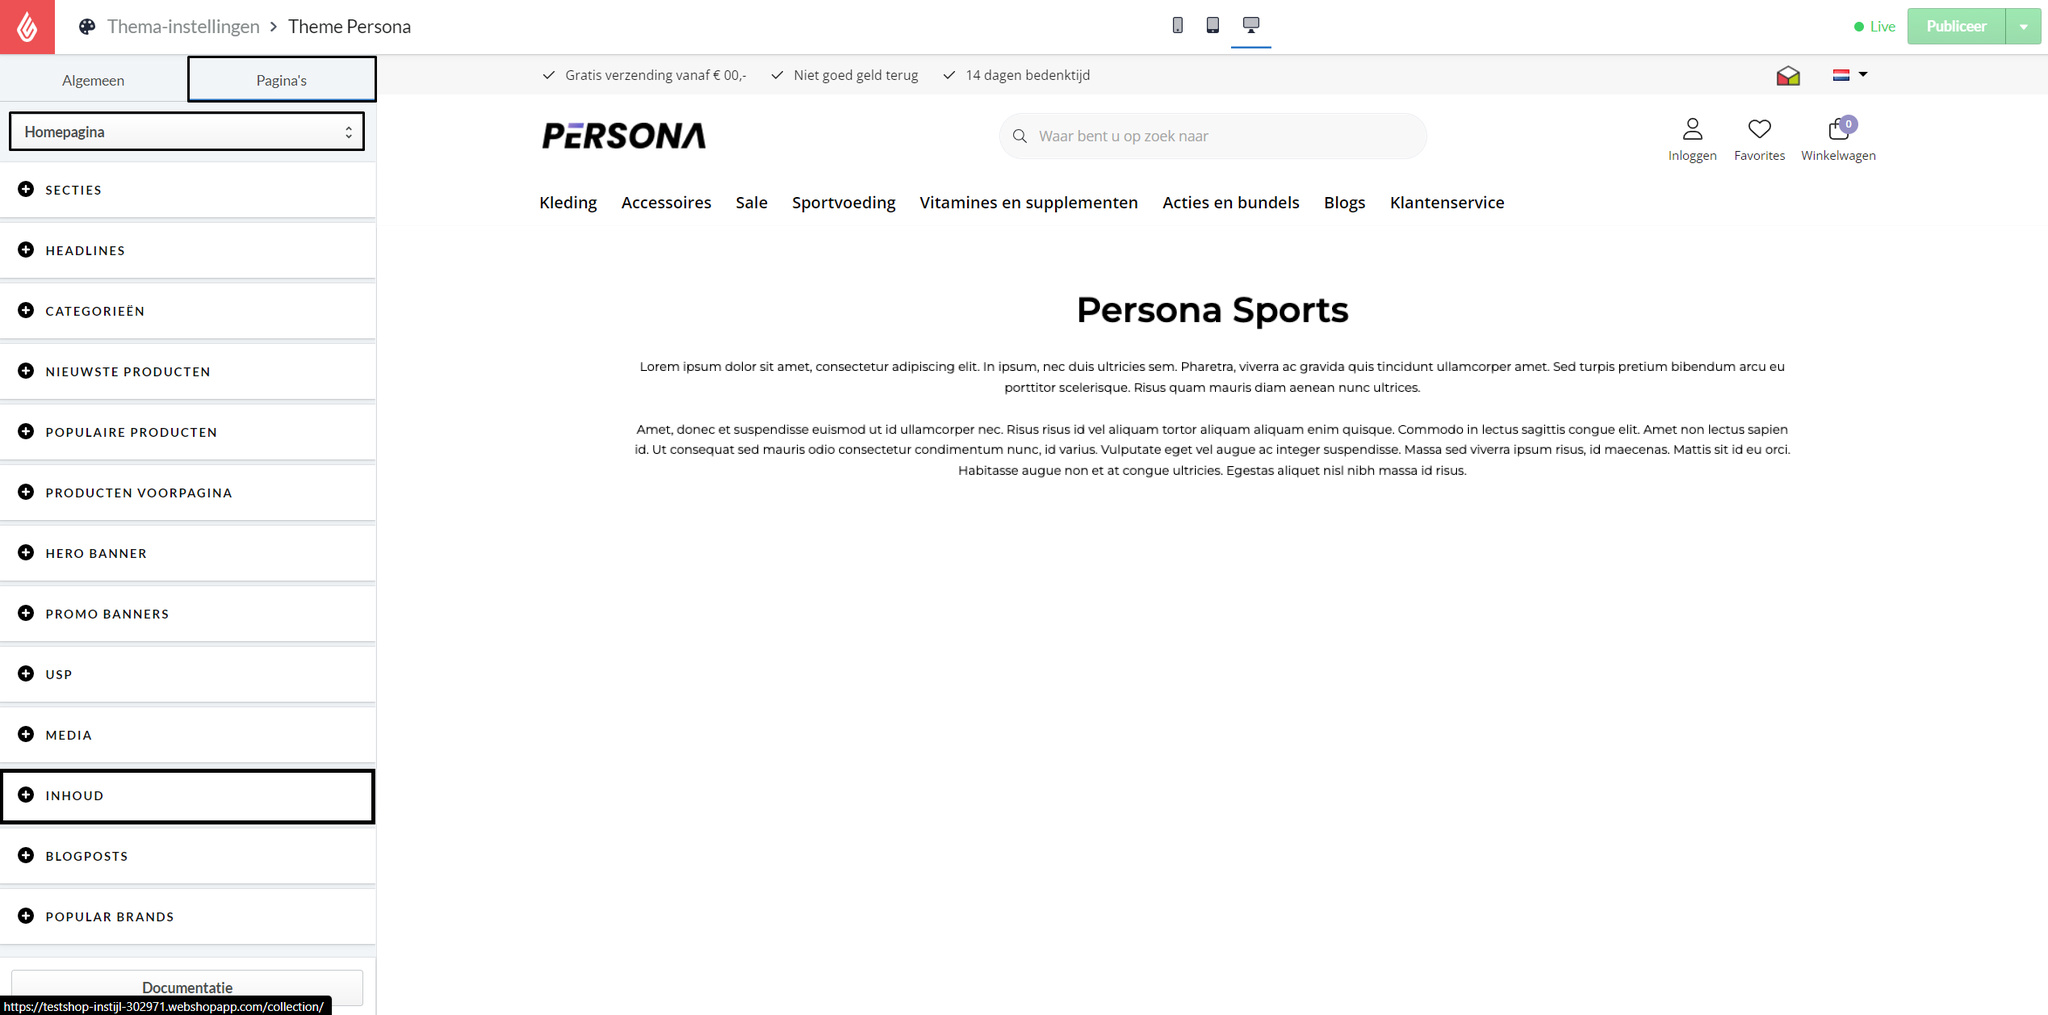
Content
Content position
Choose the position of the title, description, and button within the content.
Center
This shows the content over the entire width with the content placed above.
Left
This will show the content on the right side and the content on the left.
Right
This shows the content on the left side and the content on the right.
Title
You can choose to display a title by typing it here. If you have multiple languages in your store, you can translate this text via Content > Translations > Custom translations.
Show tags under content
You can choose to display the product-tags by turning this setting on.
Content
To add the corresponding content, go to Content > Pages > Homepage > Content.
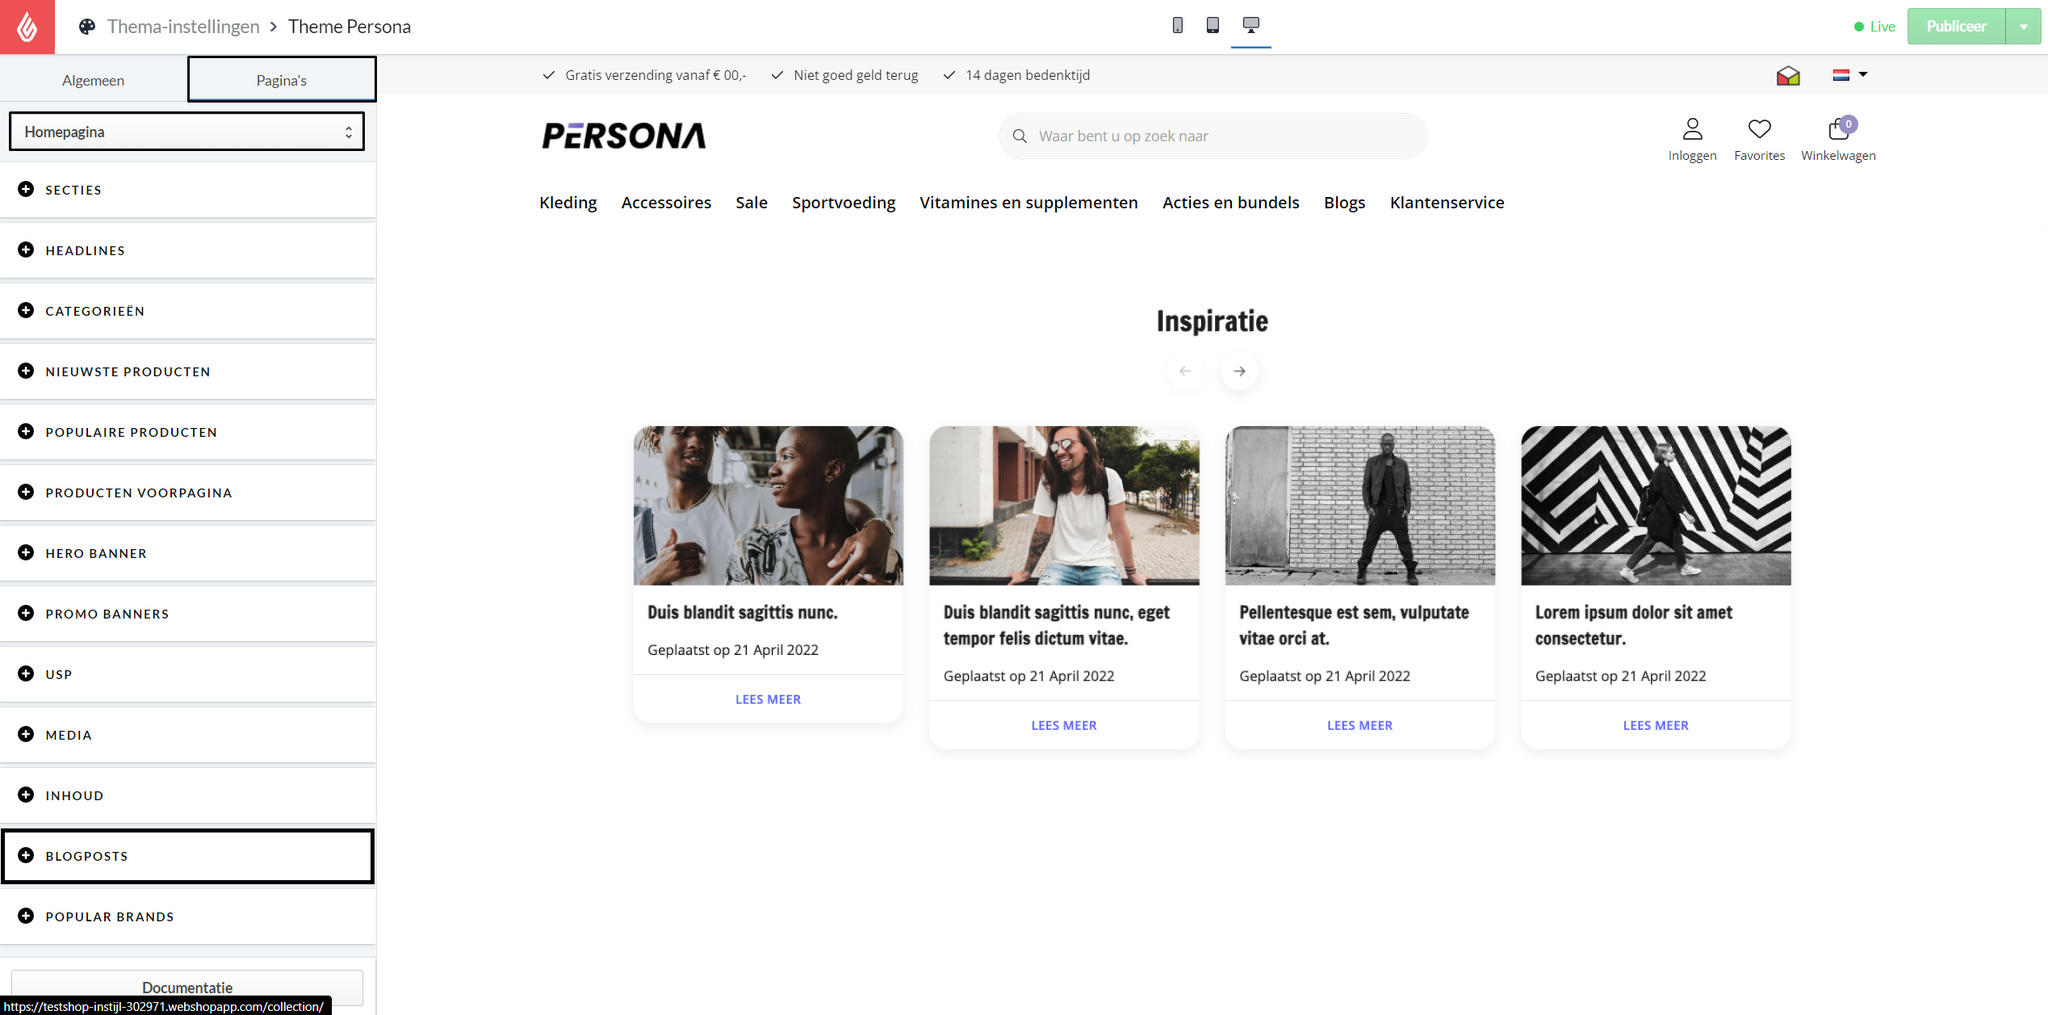
Blog posts
See also: Producten koppelen aan blogberichten
Content position
Choose the position of the title, description, and button within the blog posts.
Center
This shows the blog posts across the entire width with the content places above.
Left
This will show the blog posts on the right side and the content on the left.
Right
This shows the blog posts on the left side and the content on the right.
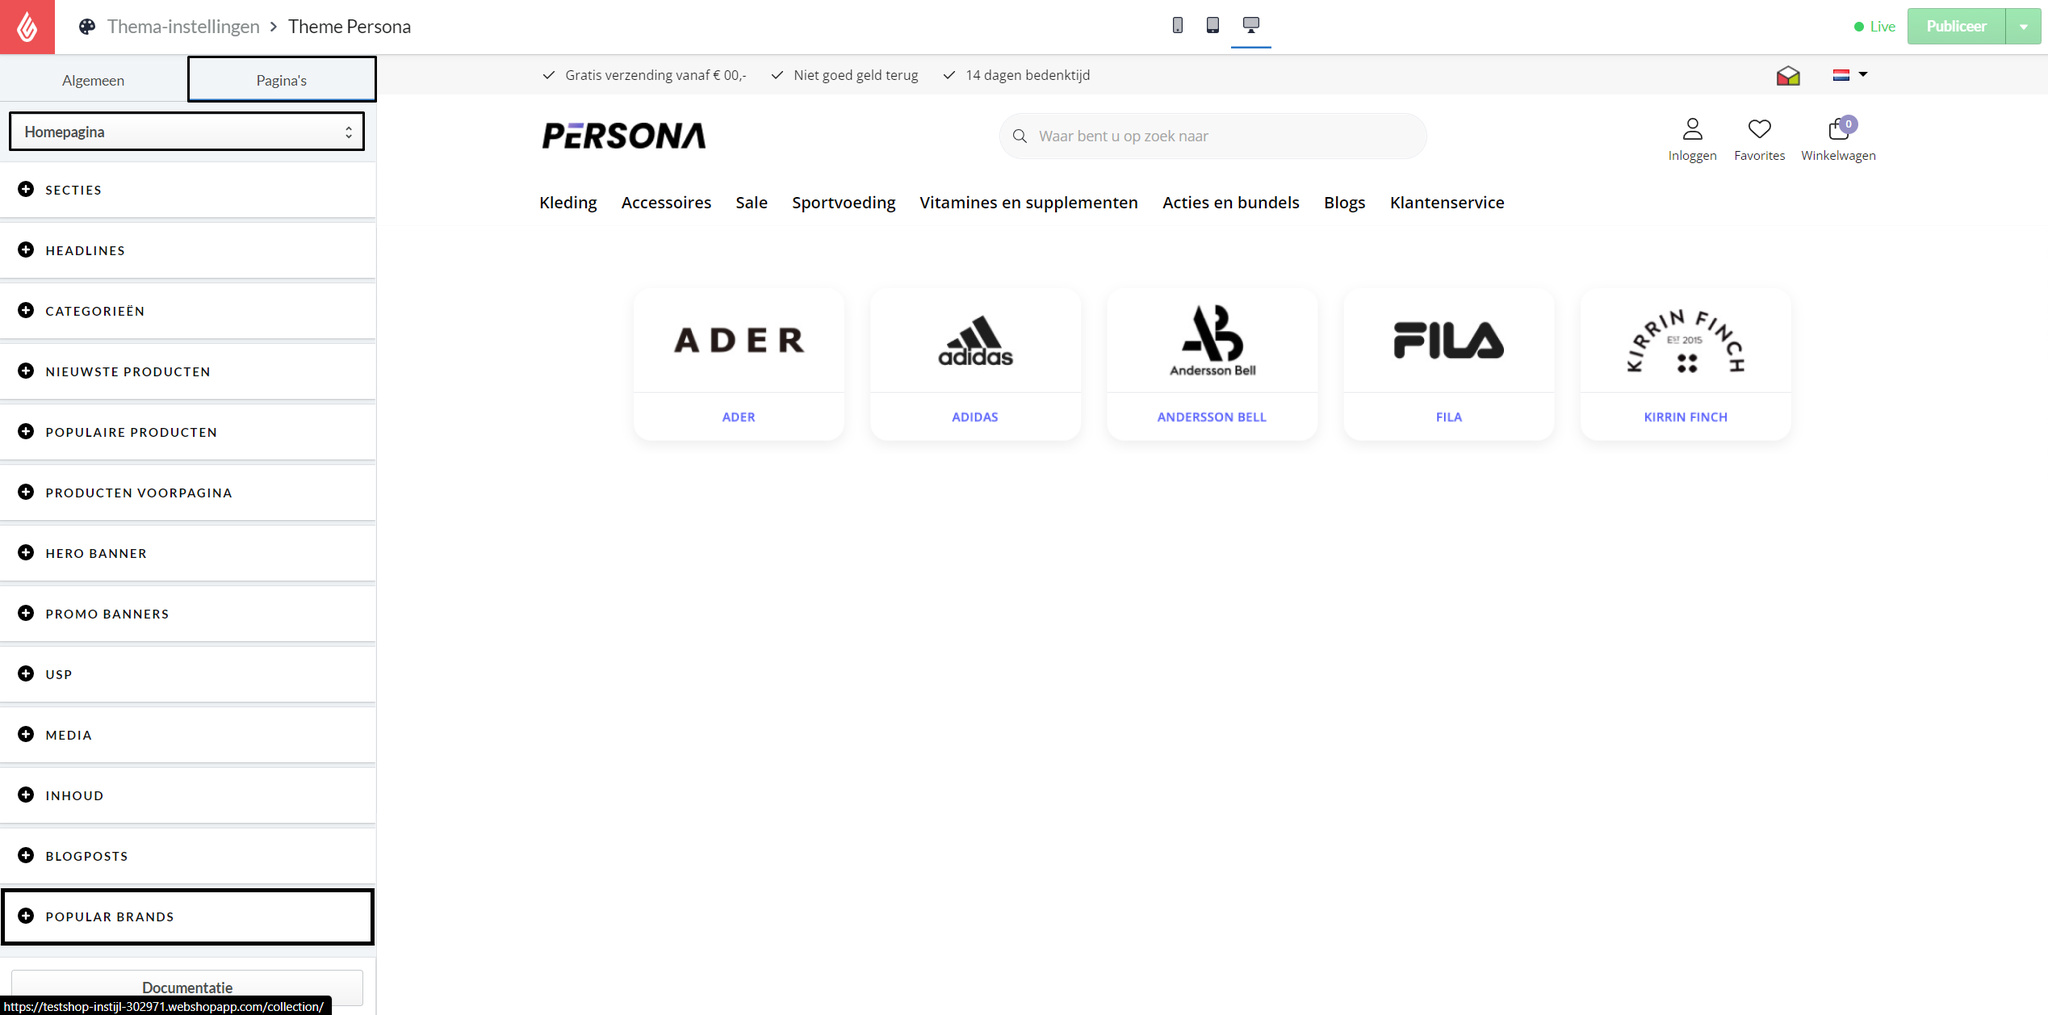
Popular brands
Content position
Choose the position of the title, description, and button within the brands.
Center
This shows the brands across the entire width with the content placed above.
Left
This shows the brands on the right side and the content on the left.
Right
This shows the brands on the left side and the content on the right.
Title
You can choose to display a title by typing it here. If you have multiple languages in your store, you can translate this text via Content > Translations > Custom translations.
Description
Enter the description you would like to show below the title.
